
How to Photograph in Direct Sun: 4 Creative Portrait Ideas & ND Filter Guide
Mastering the Sun: A Complete Guide to ND Filters and Creative Portraits
If you feel limited to just shooting in the shade and want to explore working in the midday sun, this is for you. Before we dive into the creative ways you can photograph in direct sunlight, I want to introduce you to the one tool that makes it possible to get photos in harsh light that actually look good. It is called an ND filter, and it works exactly like sunglasses for your camera.
Watch the Tutorial: I made a full YouTube video walking through these setups and showing you exactly how to use an ND filter with a prime lens! Click here to watch the video.
The Technical "Cheat Code": Why You Need an ND Filter
In the middle of the day, the sun is so bright that your camera is forced to make a "tough choice." Either your subject looks good and the background is completely blown out (white), or the background looks right and your subject’s face is way too dark.
The ND filter fixes that. By cutting down the light before it hits your lens, it evens things out so both your subject and your background can look professional at the same time.
Understanding "Stops" Without the Confusion
You will often hear the word "stop" when people talk about photography gear. Don’t overthink it—a stop just means a step of brightness.
One stop darker means the picture is half as bright.
One stop brighter means it is twice as bright.
Think of it as little steps up or down a ladder of light. ND filters are labeled by how many of these "stops" they block.
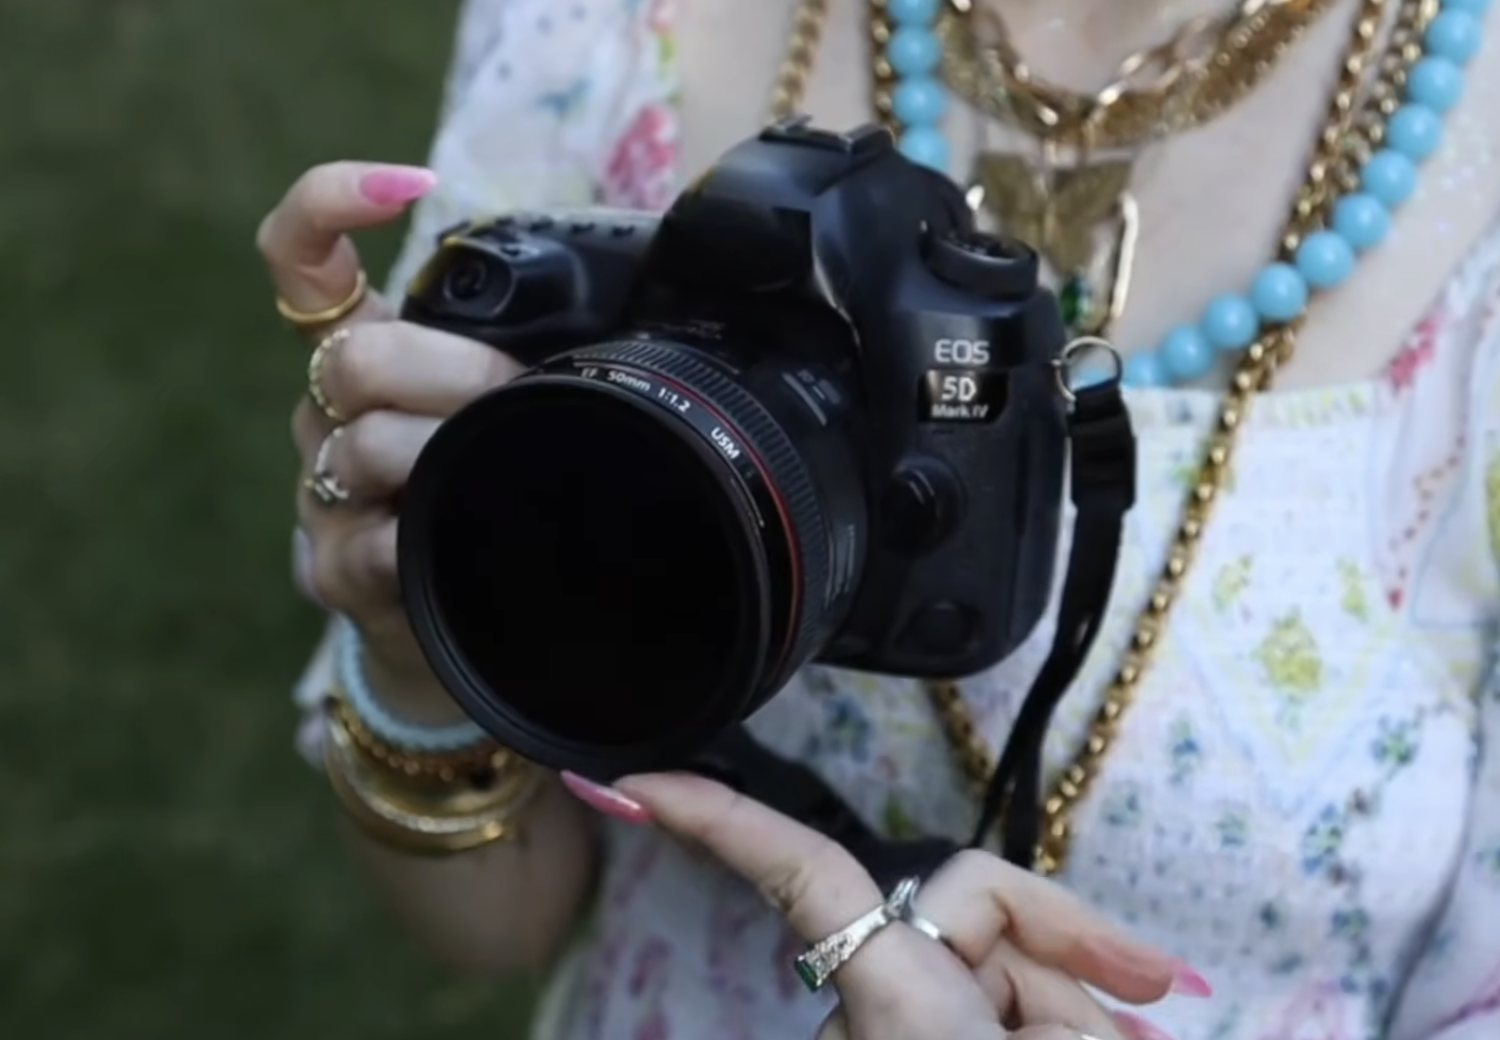
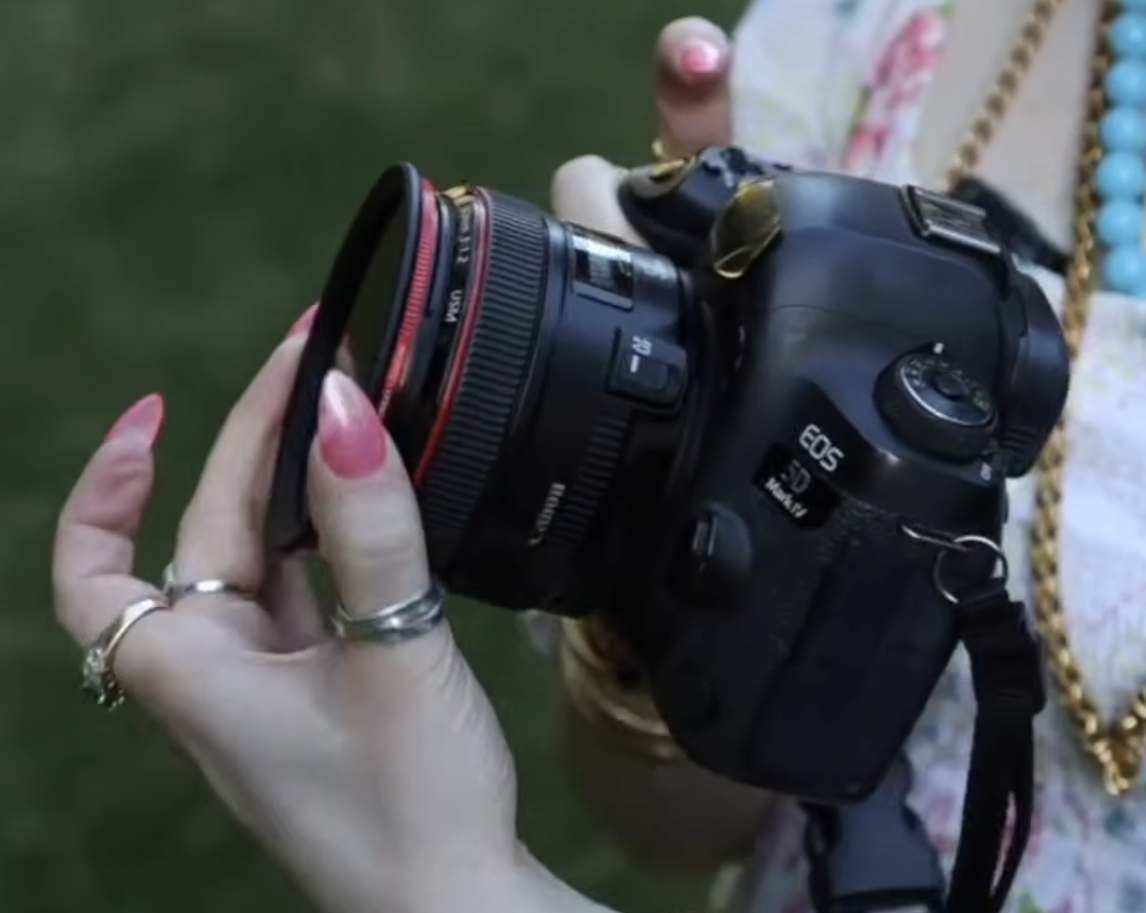
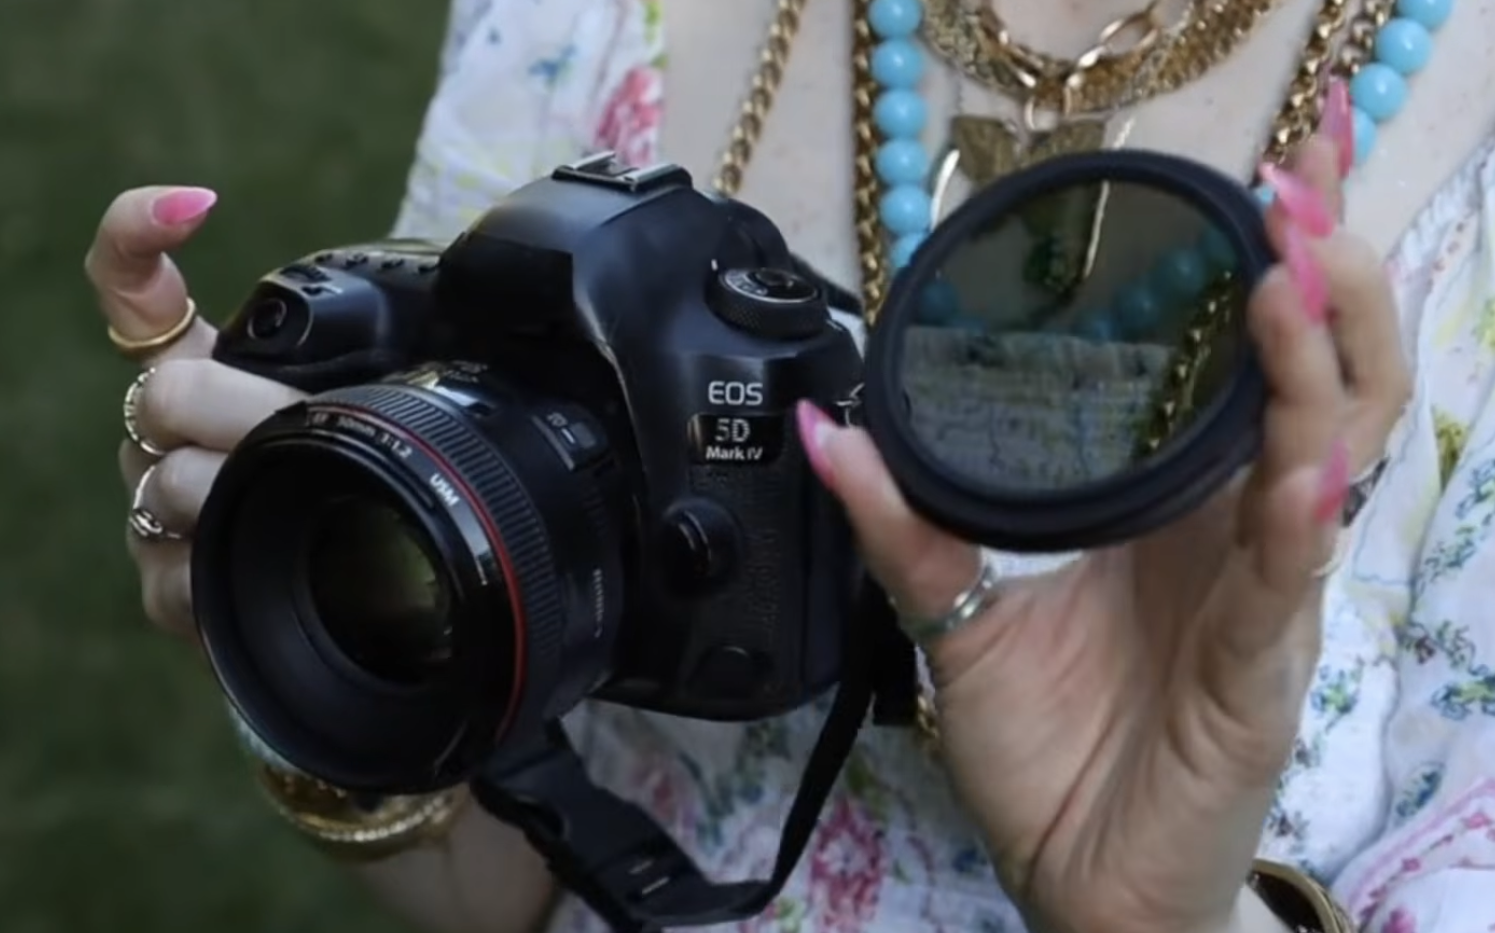
Why the Variable ND Filter is a Beginner’s Best Friend
As a beginner, you don't need a bag full of separate filters. That is why I recommend a Variable ND filter. Instead of buying a 3-stop, a 6-stop, and an 8-stop separately, a variable ND is all of them in one. You just twist the ring and it gets darker or lighter—it is essentially a dimmer switch for your prime lens.
Important Tip: Make sure you order the right size! The diameter is usually printed right next to the glass on your lens. You can find my favorite Variable ND filters here.
Your Manual Exposure Cheat Sheet
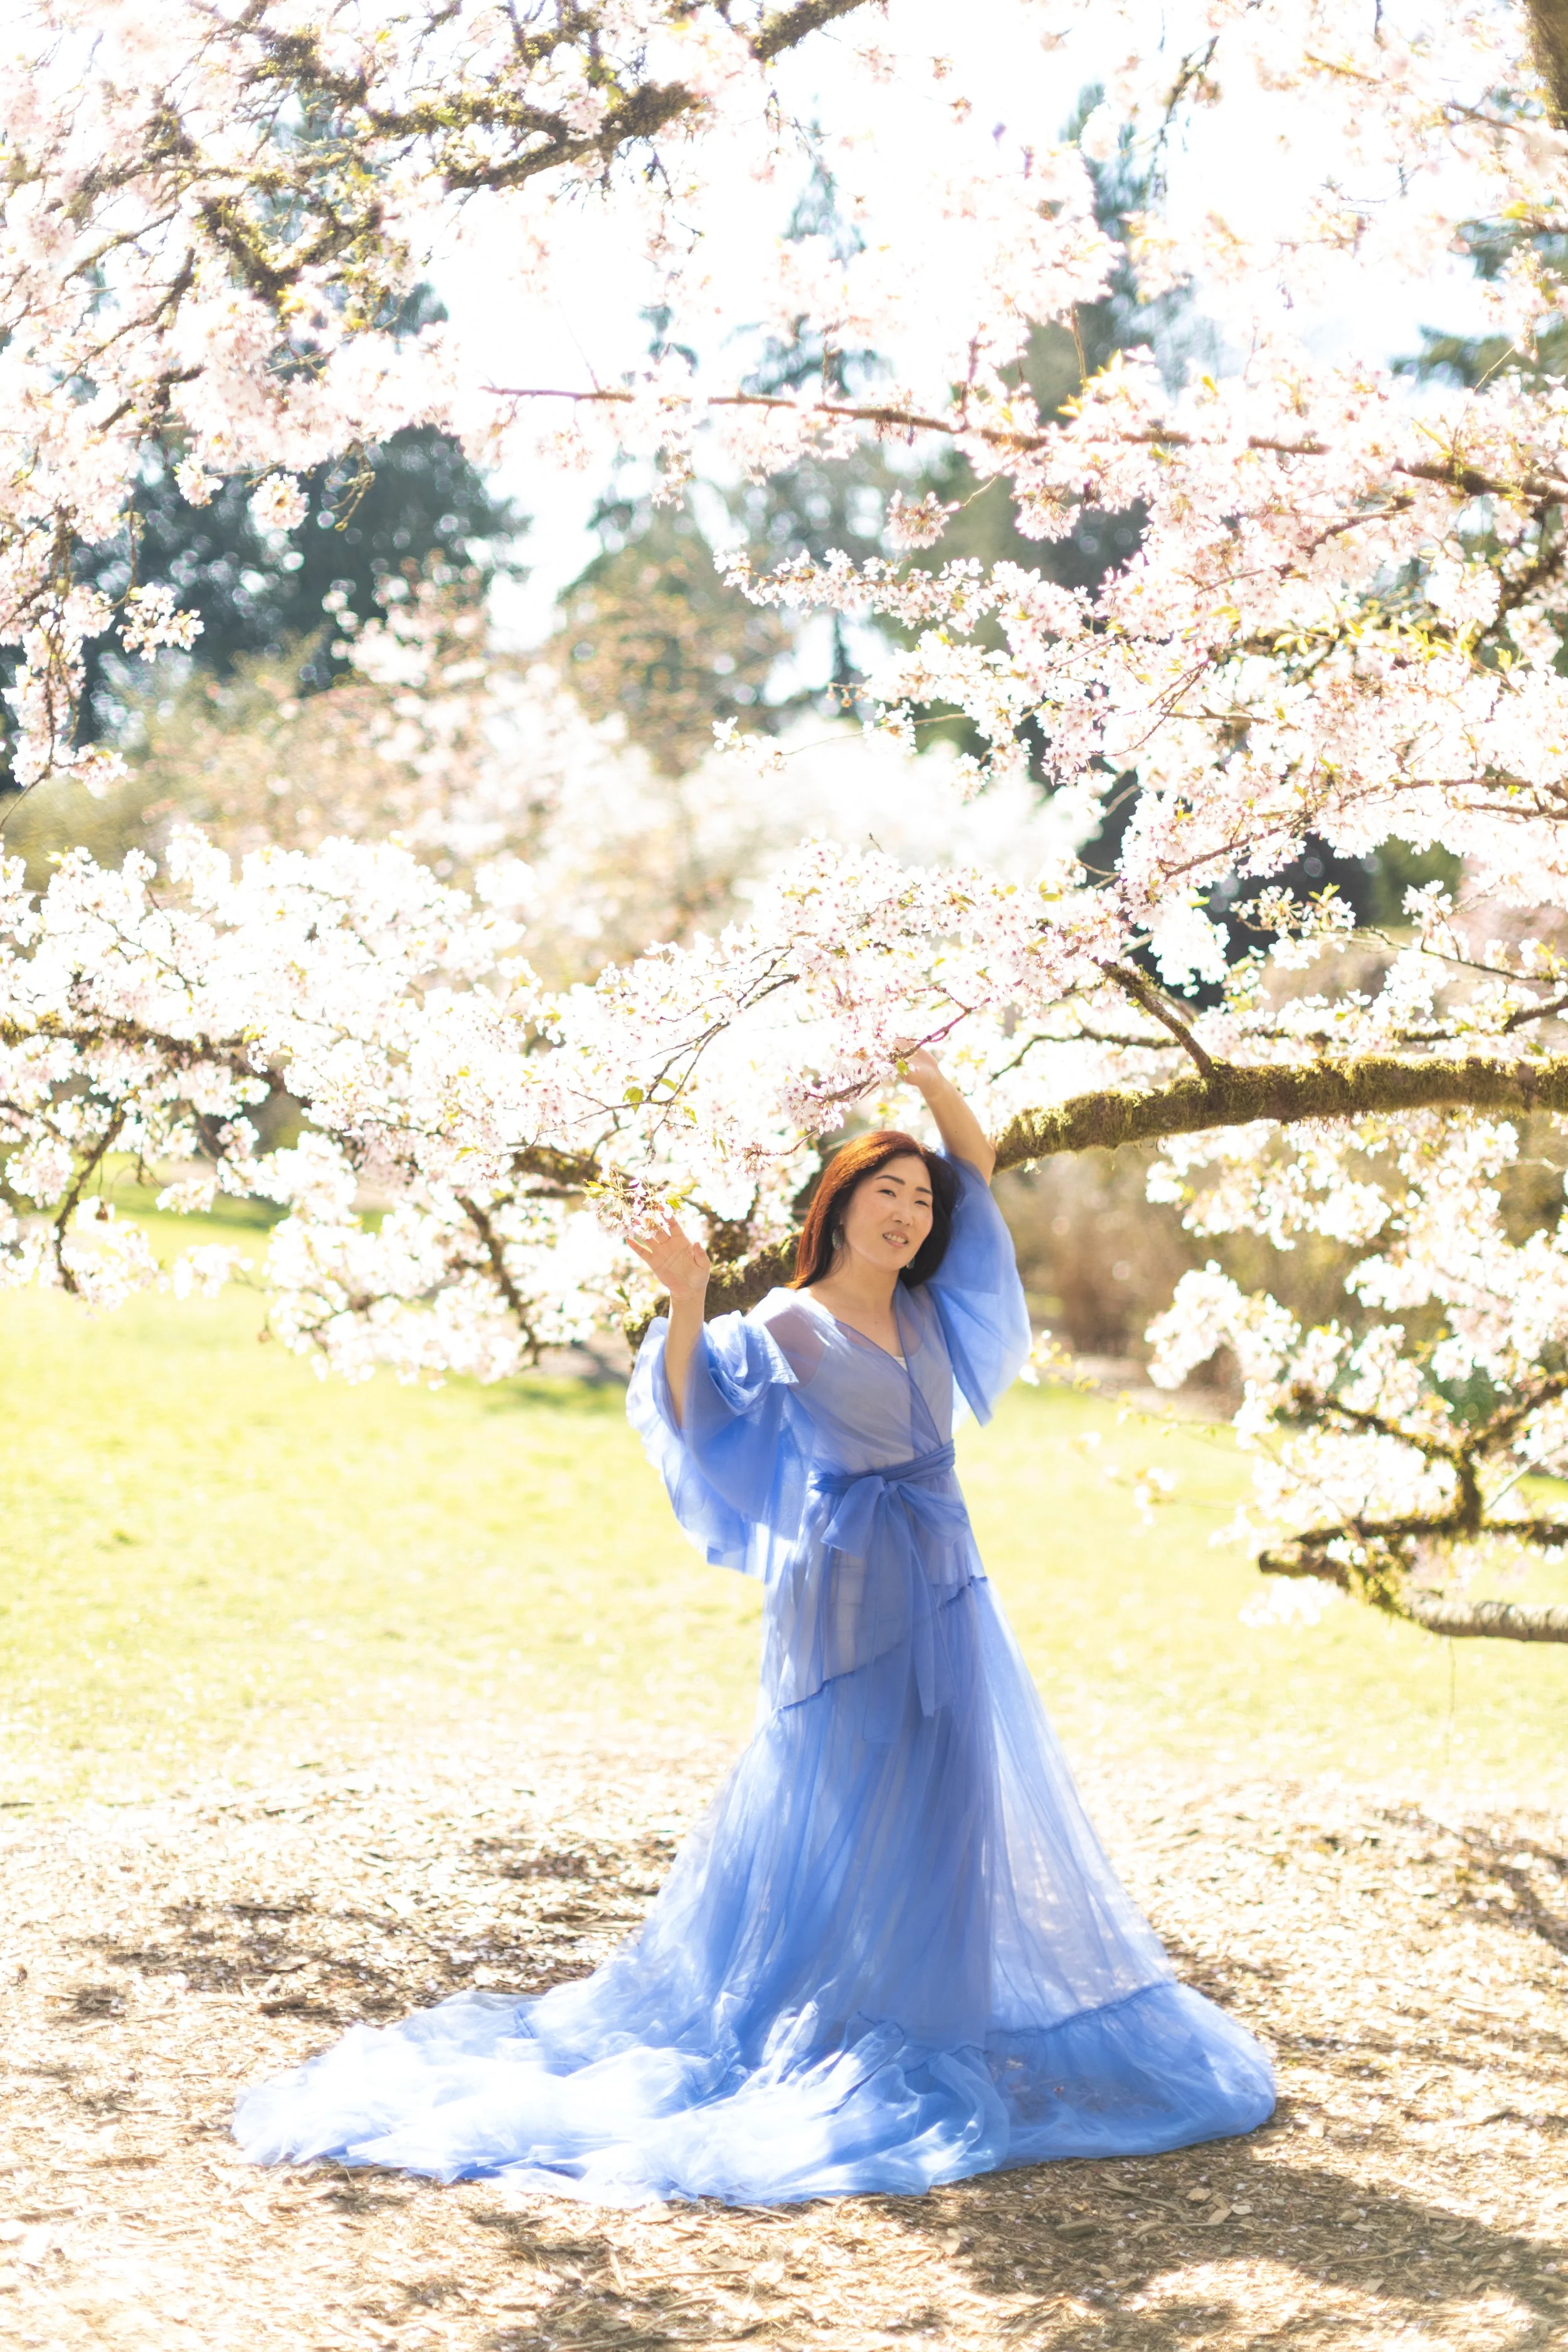
In full sun, twist your ND filter toward the darker side (about the same as a 6-stop ND). This is the secret to using the best lens for portrait photography at its widest settings. This setup lets you:
Shoot wide open at f/1.2 or f/1.4
Keep your ISO at 100
Use a normal shutter speed around 1/125
In softer light, like overcast or late afternoon, you only need about 3 stops. That will put your shutter closer to 1/500 or 1/1000, while still keeping that blurry, wide-open aperture. Best of all? You don't need to memorize formulas. Because we are using digital cameras, you can just twist the filter and adjust until it looks right on your screen.
ND Filters vs. Underexposing: The Truth
Some people ask if using a filter is the same as just underexposing the photo in your settings. The answer is no. Underexposing means you are letting too much light in and then forcing the camera to try and darken it later, which gives you less detail and a "flat" file. An ND filter blocks the extra light before it even hits the sensor. This means your photo is already balanced in-camera and will edit beautifully in Lightroom just like a normal, well-exposed shot.
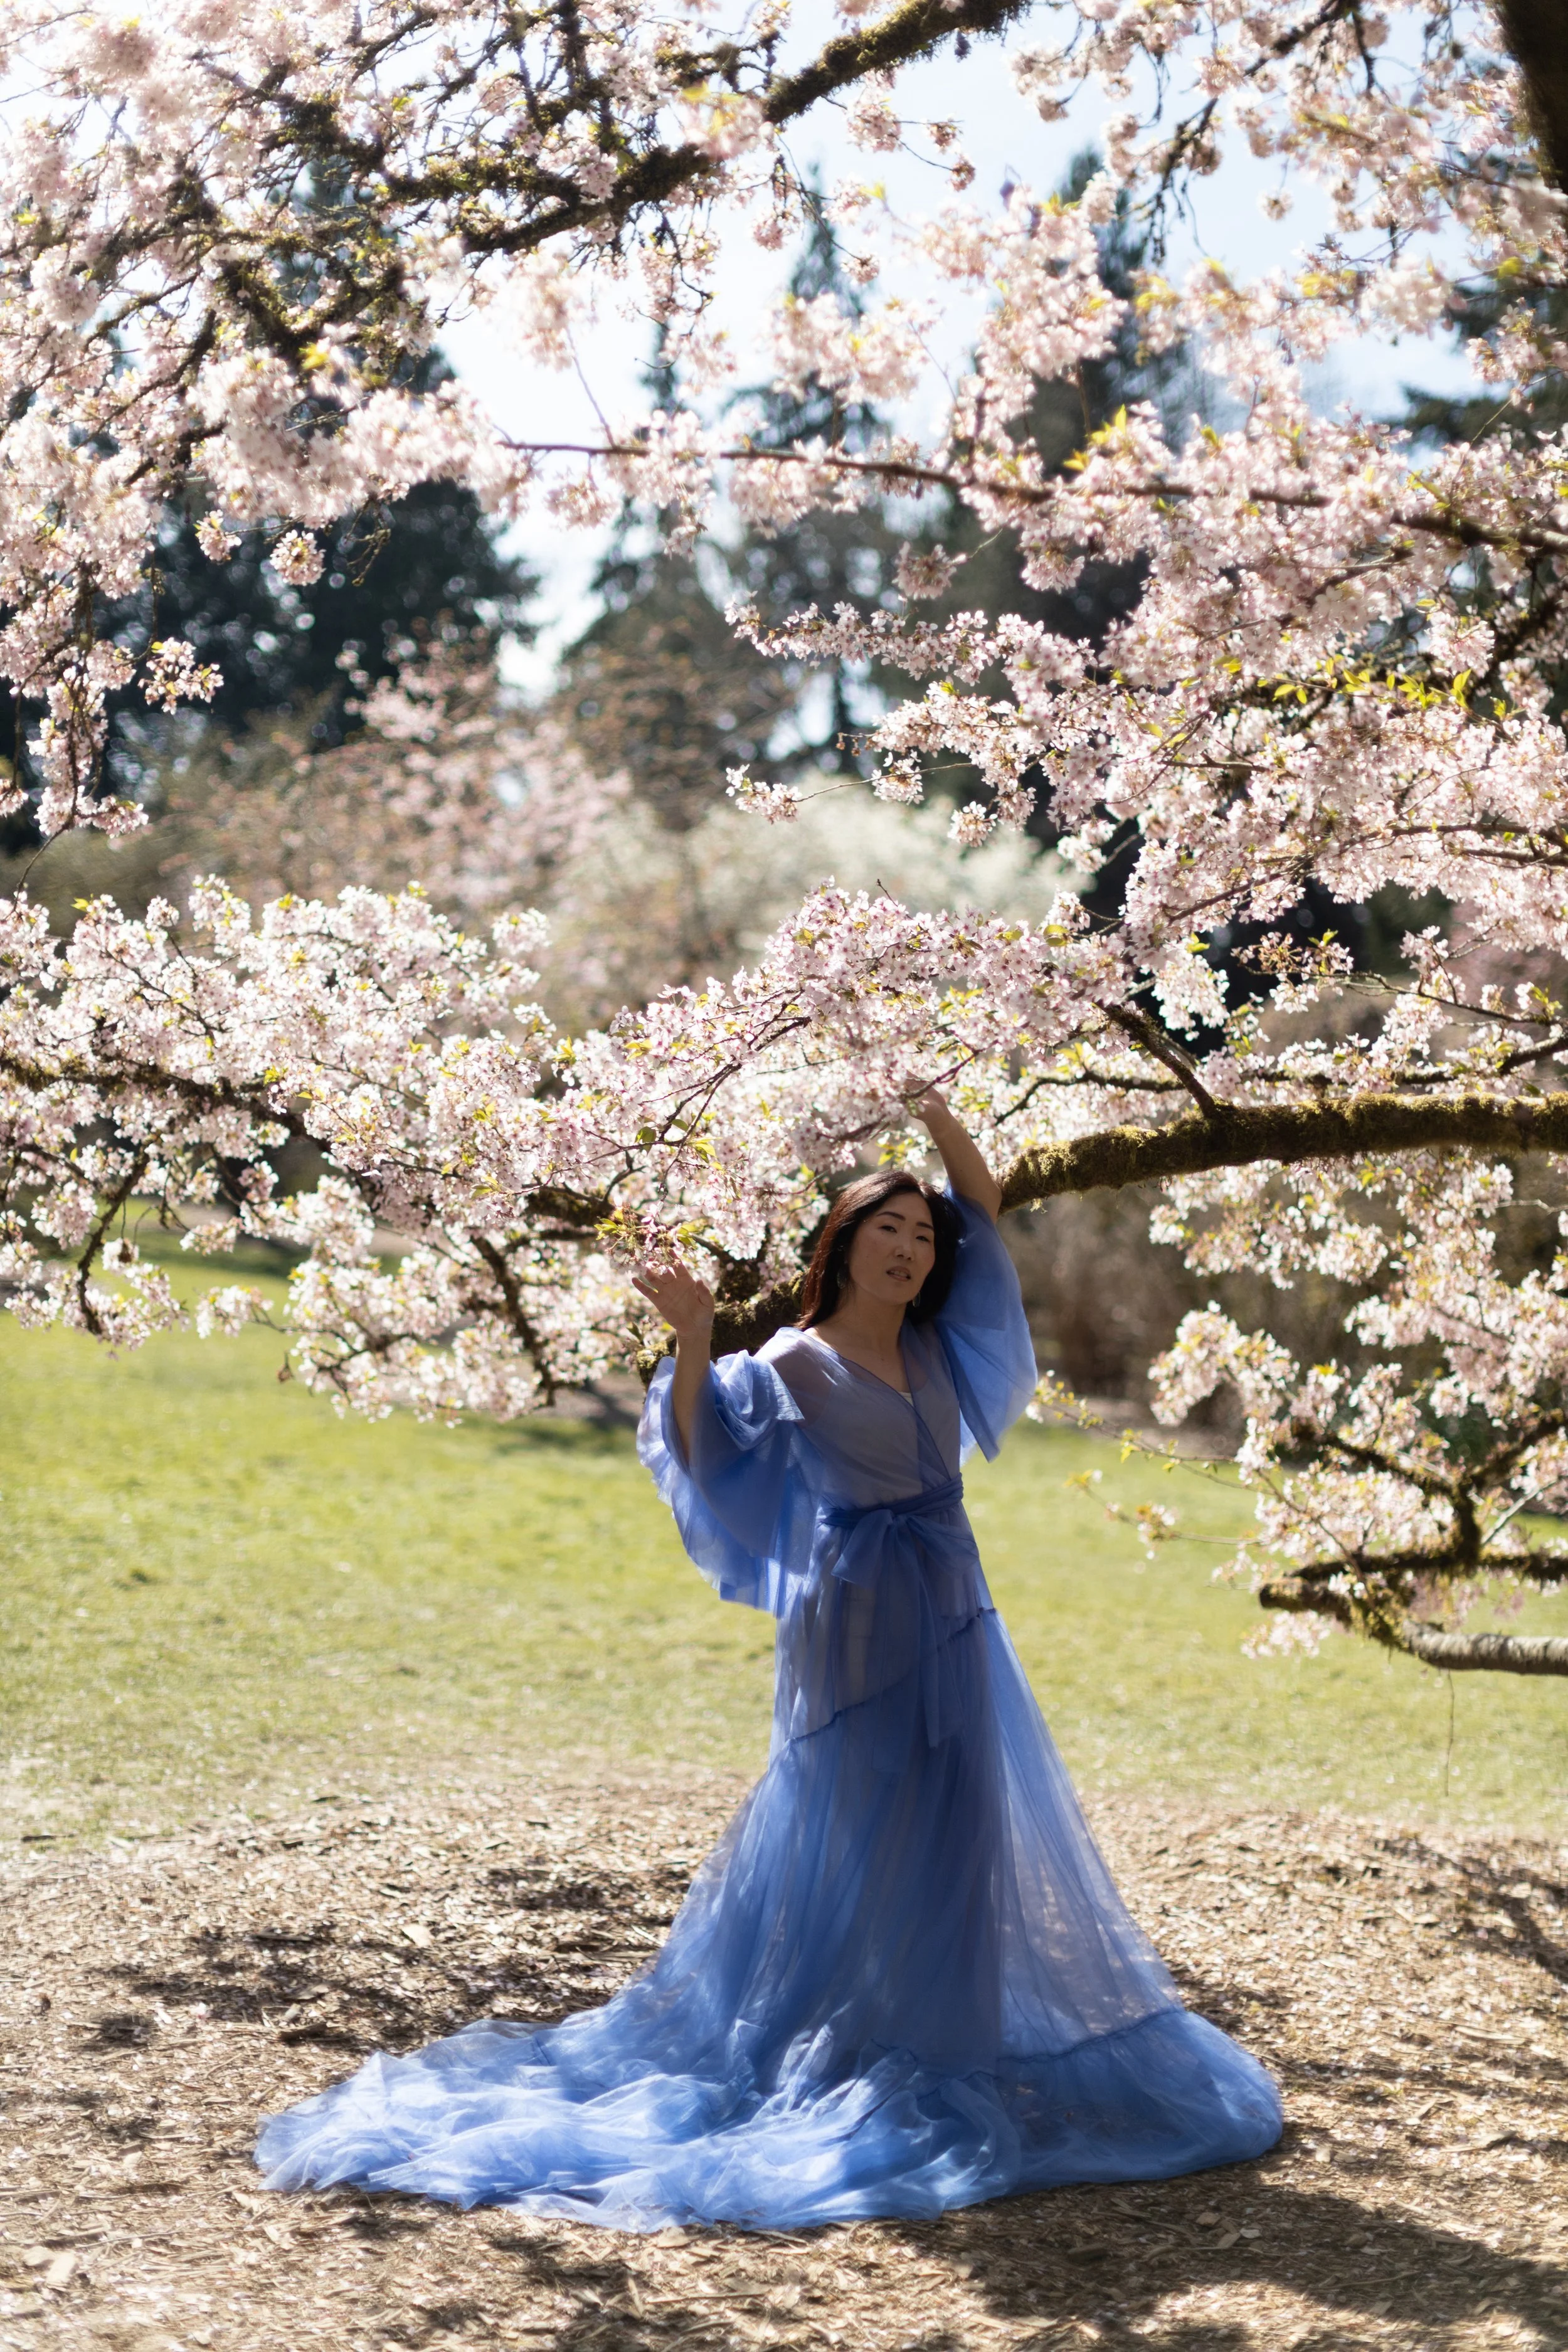
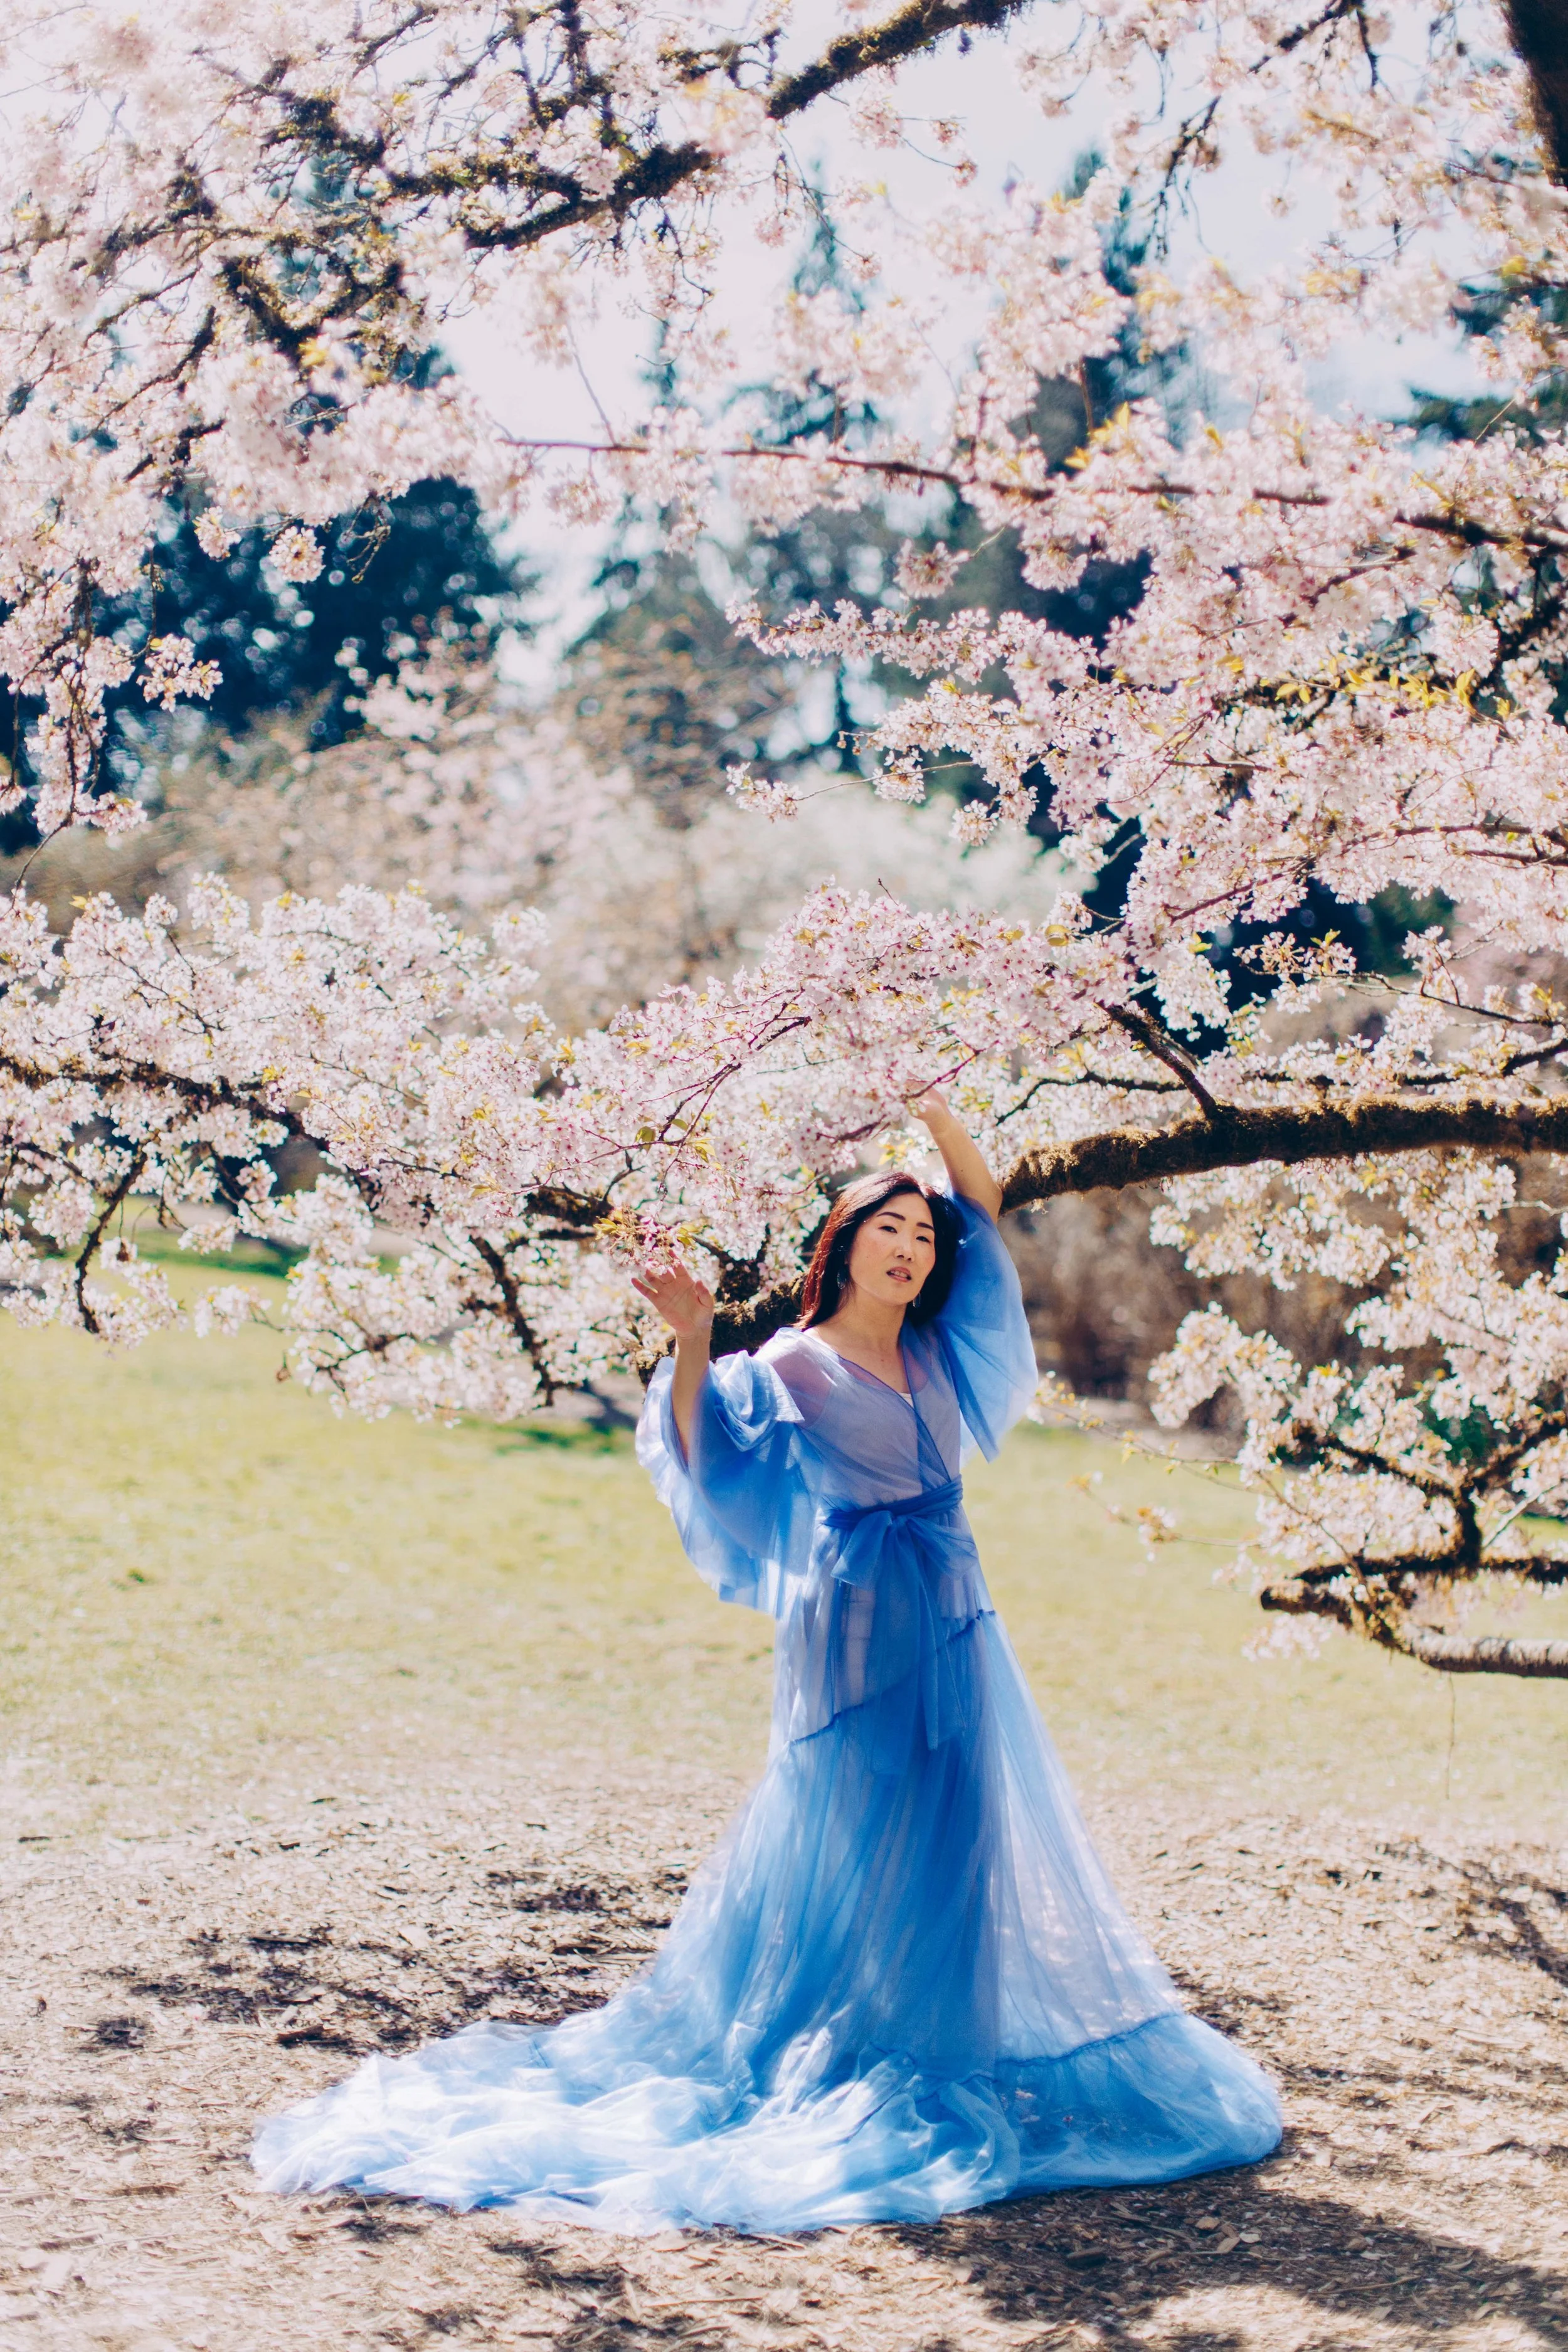
Before/After of using an ND filter
Both of these images are unedited and shot using the same settings: 50mm, 1/320, f/1.4, ISO 200. The only difference is one has an nd filter on the lens and the other does not.
Without an ND filter
With an ND filter
With an ND filter, edited version
Finding the Right ND Filter for Your Budget
I am a huge believer in using what you have and staying within your means, so you definitely don't need to spend a fortune to start photographing in direct sunlight. Here is how I break down the best options for every budget:
The "Getting Started" Option
If you are just starting out and don’t want to invest a lot of money right out of the gate, I recommend this budget Variable ND filter. It’s a great way to practice the "twist and adjust" technique without a huge upfront cost.
Another amazing "pro tip" for saving money is to shop for used filters. You can often find high-end glass for a fraction of the price by checking the inventory at KEH Camera. It’s one of my favorite ways to get professional gear on a hobbyist budget.
My Favorite for Quality & Price: Moment VND
If you are ready to step up, the Moment Variable ND filters are my personal favorites when you look at the balance of quality and price point. They use dual layers of cinema glass to reduce light evenly, which means you won't get those weird color shifts or "X-patterns" that can ruin a shot.
What I love most is the Viewfinder-Visible Stops—you can actually see your exposure range without taking your eye off the viewfinder. It even has a little "click" (tactile feedback) when you hit the limit, so there is zero guesswork while you're shooting.
The High-End Choice: PolarPro VND
Then, there is the PolarPro brand. There is absolutely no denying the amazing quality of this glass; it is cinema-grade and incredibly sharp. It features a Hard Stop System that prevents vignetting and a rugged magnetic case for protection. It is a beautiful piece of gear, it’s just at a higher price point of $250.
Which one is right for you?
The Budget Option: Perfect for your first few shoots to see if you like the "ND look."
The Moment Filter: The "sweet spot" for most photographers who want professional results without the $200+ price tag.
The PolarPro: For the pros who need the absolute highest color accuracy and a lifetime of durability.
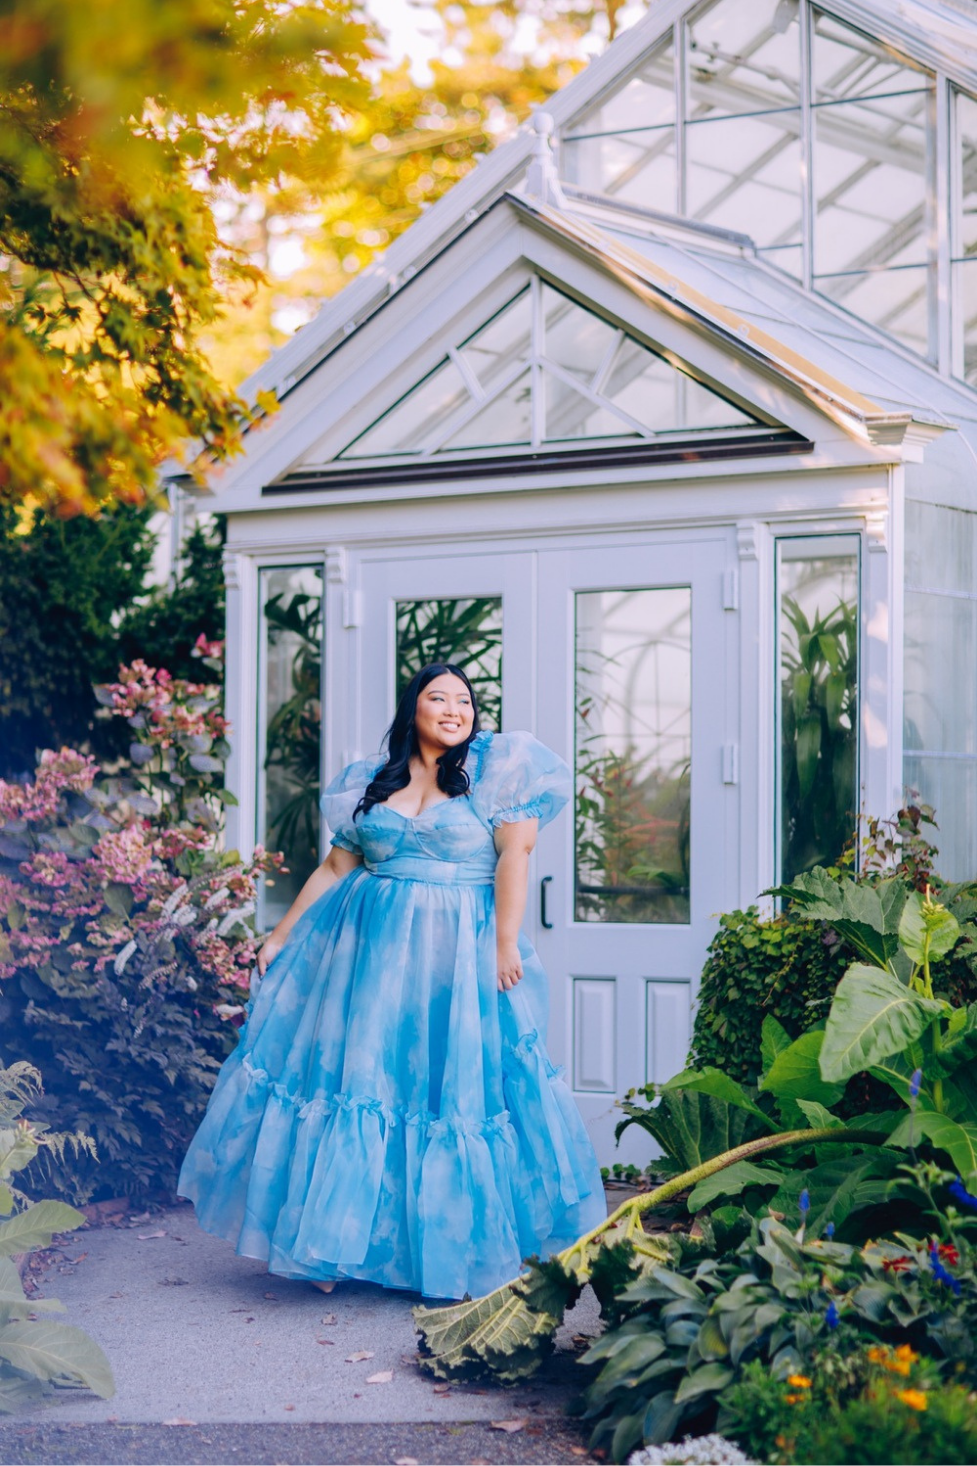
4 Creative Ways to Style Harsh Sunlight
Once you have the light under control, it's time to play. When I'm styling a shoot, I always ask myself: is this choice adding Color, Texture, or Shine? Ideally, you want all three.
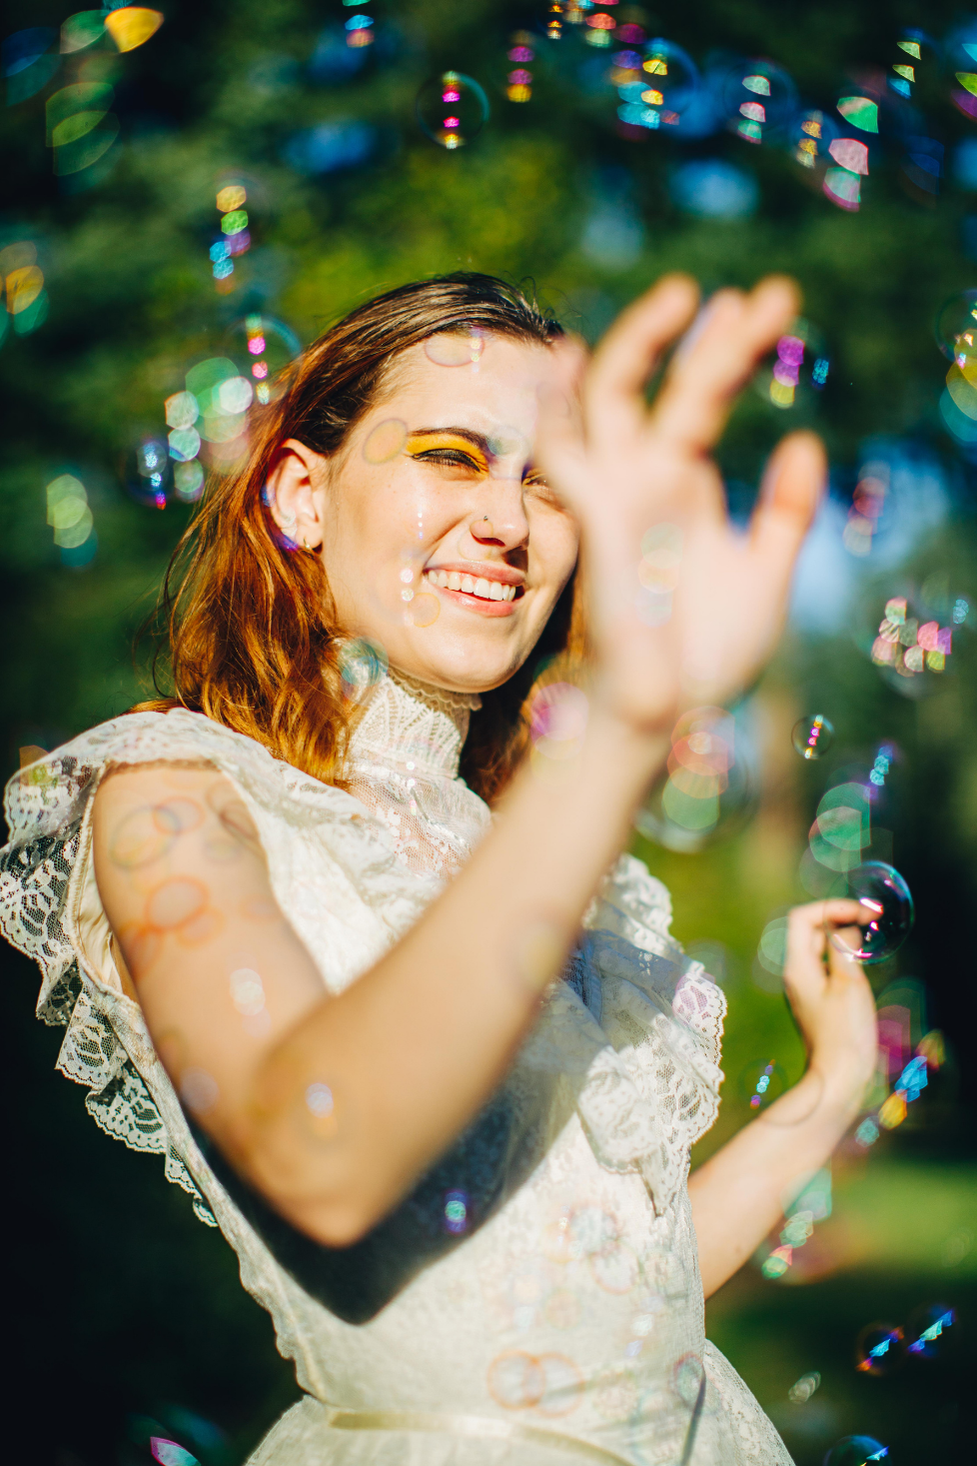
1. The Magical Bubble Machine
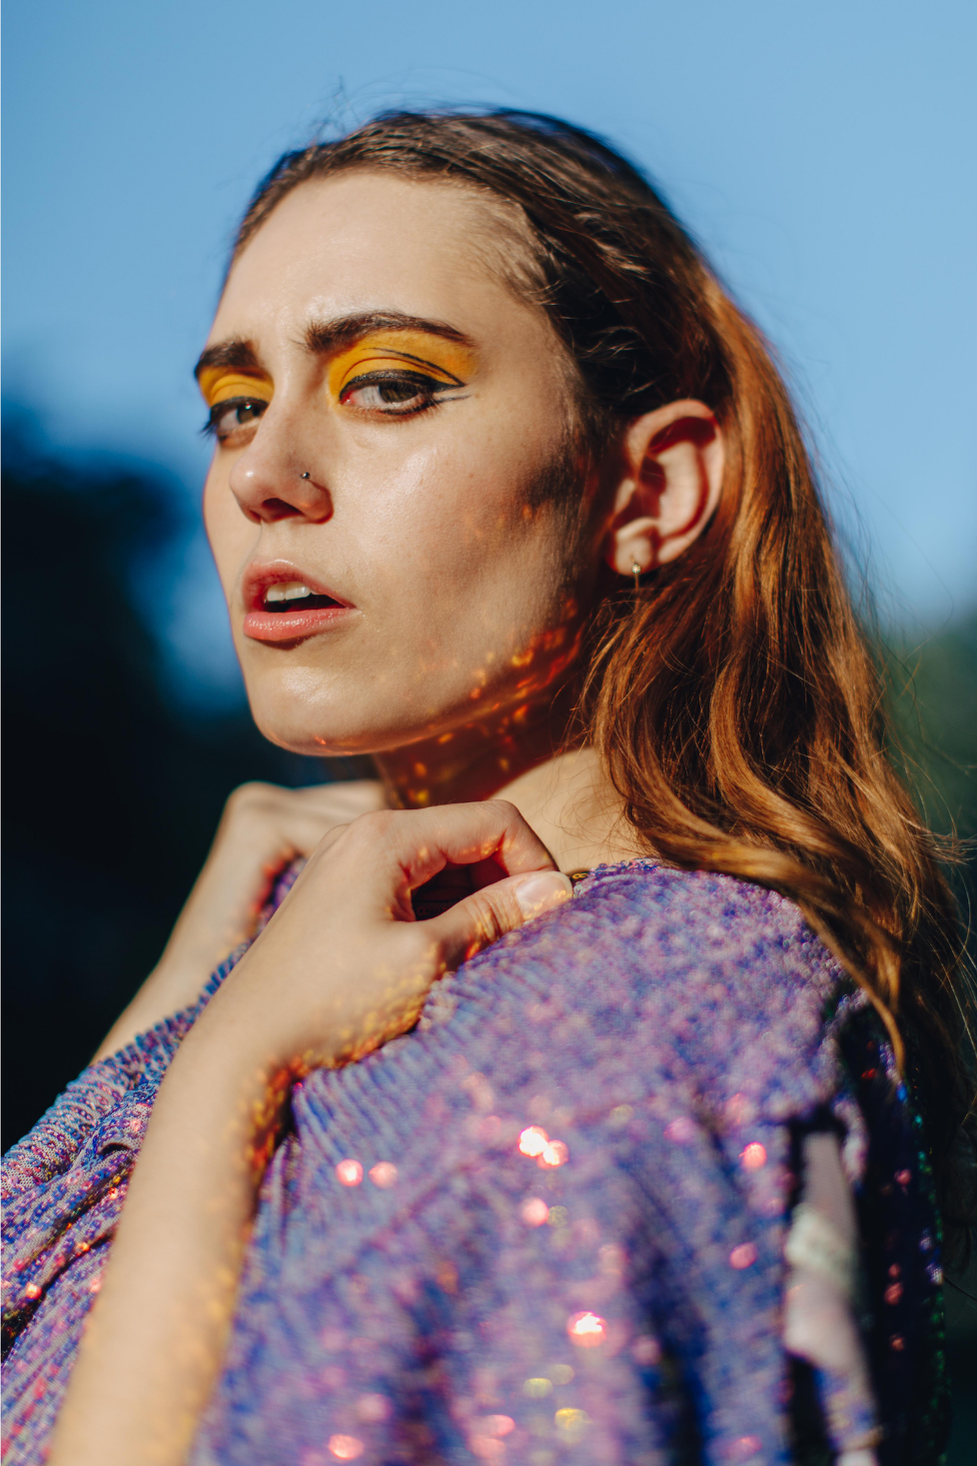
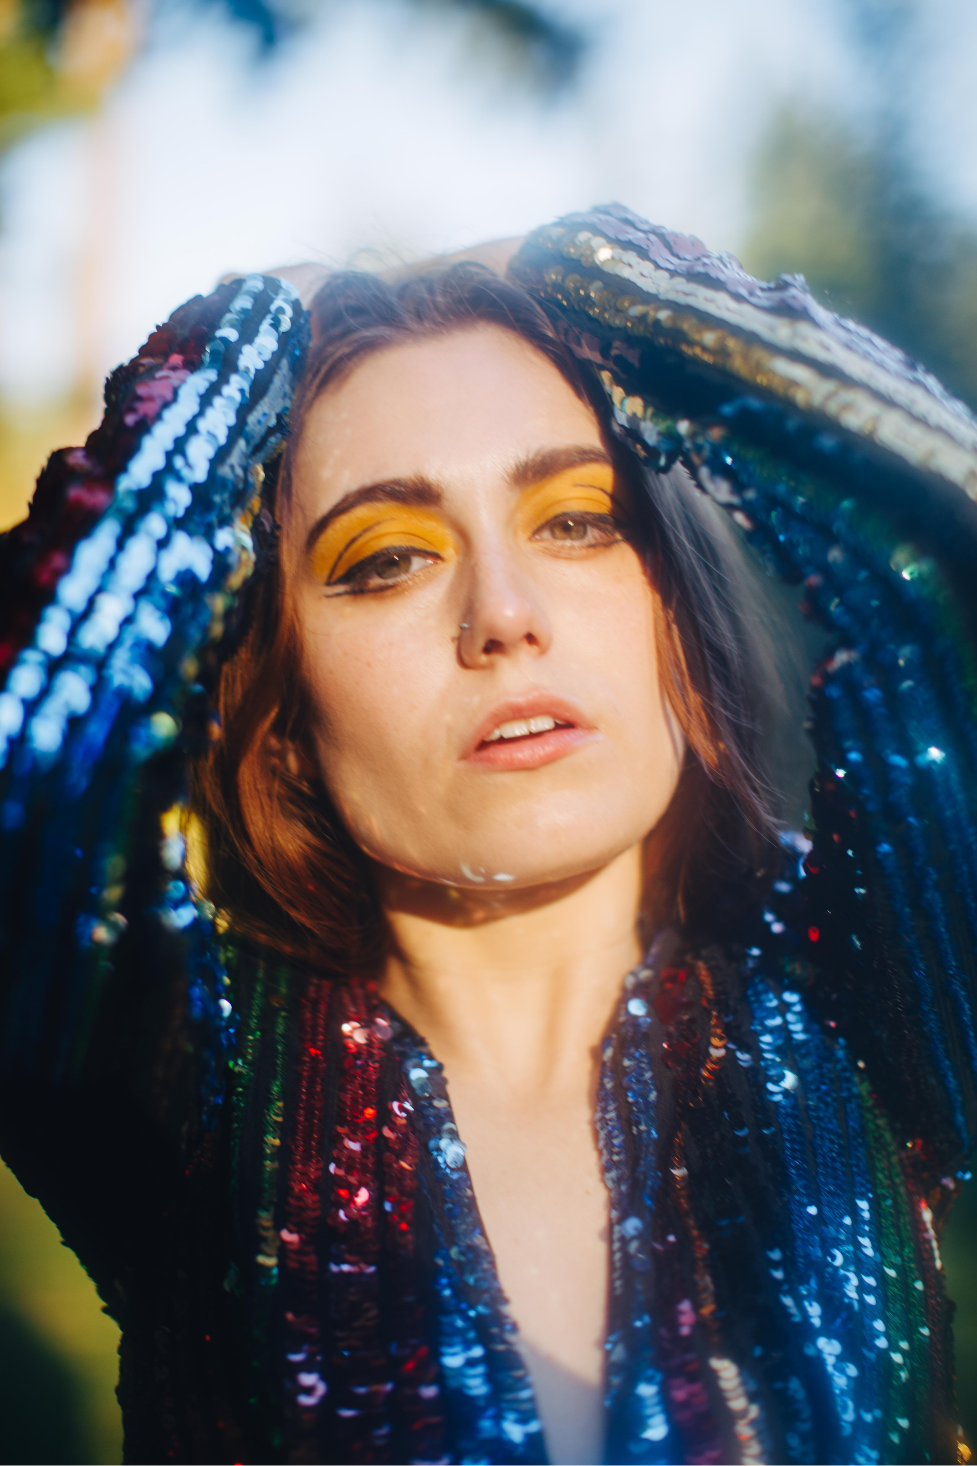
I actually got this idea while driving home from therapy! I saw someone on an apartment balcony with a bubble gun and realized how incredible that would look in a shoot. Bubbles are perfect for direct sunlight because they catch the rays and add instant color, texture, and shine.
Styling Strategy: I told my model, Jayde, to bring wardrobe that was sequined, iridescent, or see-through. Anything that plays with light the same way the bubbles do will turn a simple sunny shoot into something layered and magical.

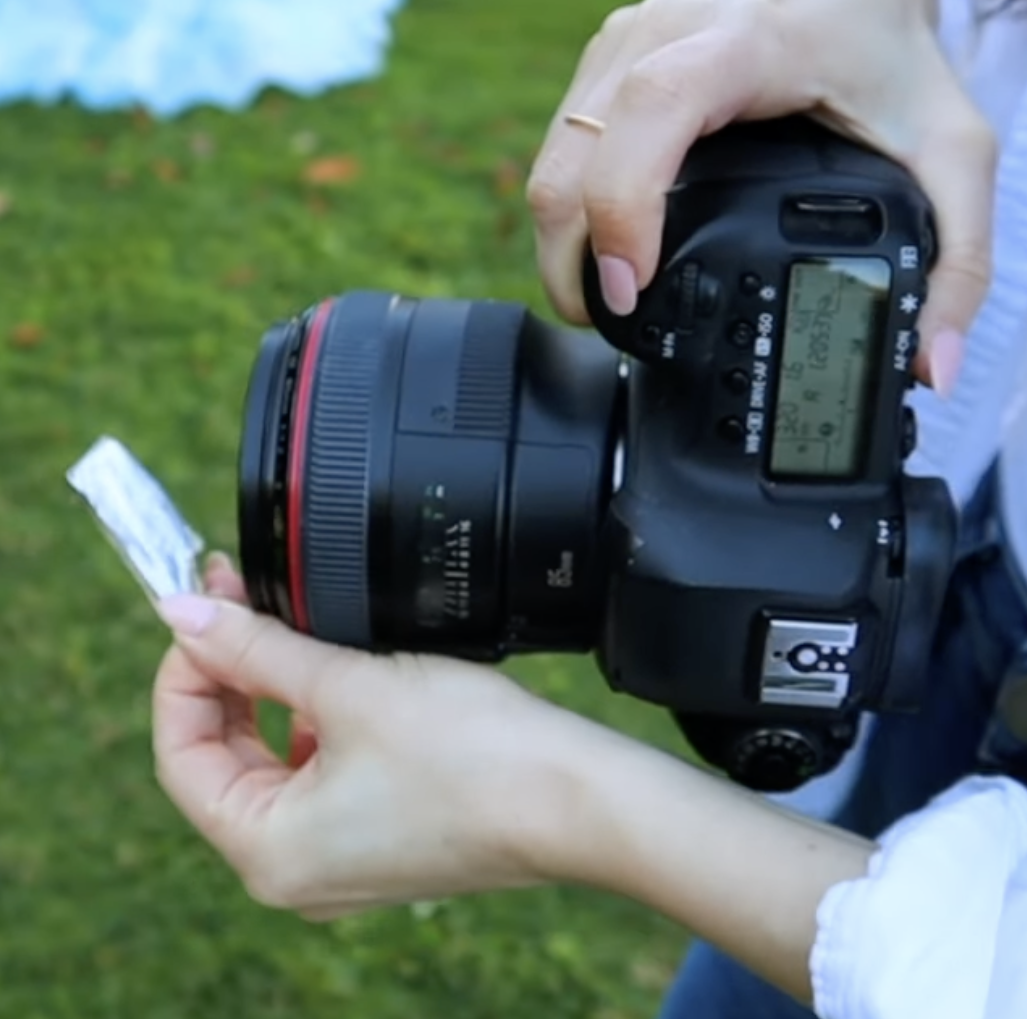
2. Reflective Objects and Metallic Shine
One of my favorite things to do is hold an object right up against the camera lens. This creates a beautiful, hazy metallic light. You can use:
Rhinestone Chains: I use a pewter rhinestone chain as a necklace or wrap it around a belt, but holding it to the lens brings in instant shine.
Vintage Chandelier Crystals: These are amazing for creating prism flares or bringing in a splash of soft light.
Household Hacks: If you're in a pinch, you can use tinfoil, a metallic gum wrapper, your keys, or even a ziplock bag.
Here’s a list of the different props you can use. Chances are, you have enough already around your house!
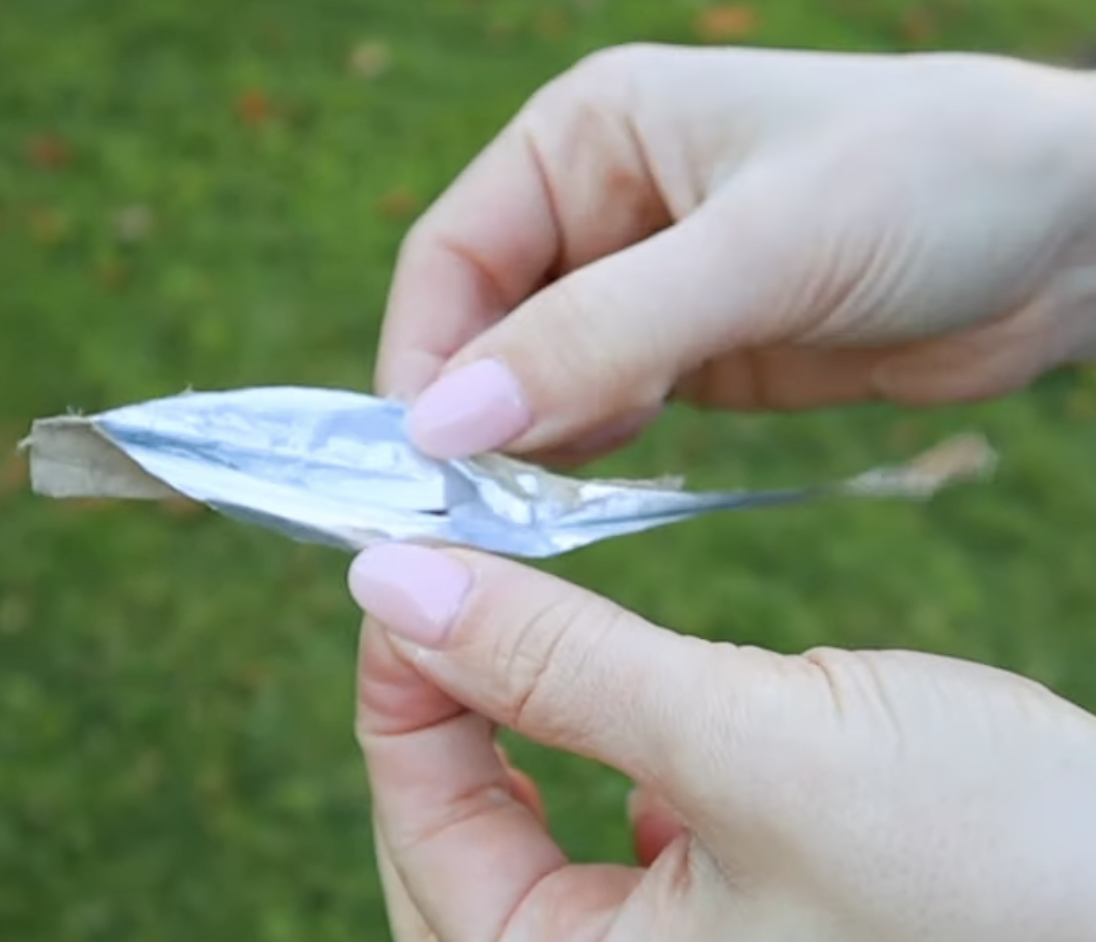
You can see in the bottom left corner a haze over the image. That is this metallic piece of trash I found in the grass.

3. Thrifting for Fabrics
Thrifting is a goldmine for photographers. My go-to is a crochet tablecloth. You can have your model wad it up to create a pop of texture near their face, or drape a sequin dress around them for an iridescent "mermaid" look.
Creating Shadows: You can also use these textiles to create interesting shadow patterns on your subject. Holding a textured fabric between the sun and your model creates a high-fashion, high-contrast look that you simply can't find on Pinterest.
4. In-Camera Overlays and "Glow"
Back in 2017, this was my signature look. I would take a tube of Glossier Balm Dotcom and smear it on a clear filter (never on the lens itself!). This gives the photo a dreamy, hazy, and nostalgic glow.
Adding Color: You can also use colored overlays. You don’t need expensive theater gels. Try a sibling’s pink pencil box, colored cellophane, or even thrifted tinted glass bottles. These bend and tint the light before it reaches your camera, creating a creative wash of color across the frame.
5. The Spray Bottle Bokeh
The last trick is the simplest: a spray bottle of water. If you spray a fine mist into the sun—either behind the subject or have them do it—the tiny droplets catch the sunlight. In-camera, this looks like a magical bokeh effect with shimmering points of light dancing through the frame.
Photographing in direct sun doesn't have to be a struggle. When you combine the technical power of an ND Filter with everyday household items, you can create professional, unique portraits anywhere.
Which of these DIY ideas are you going to try first? Tag me in your photos so I can see what you create!